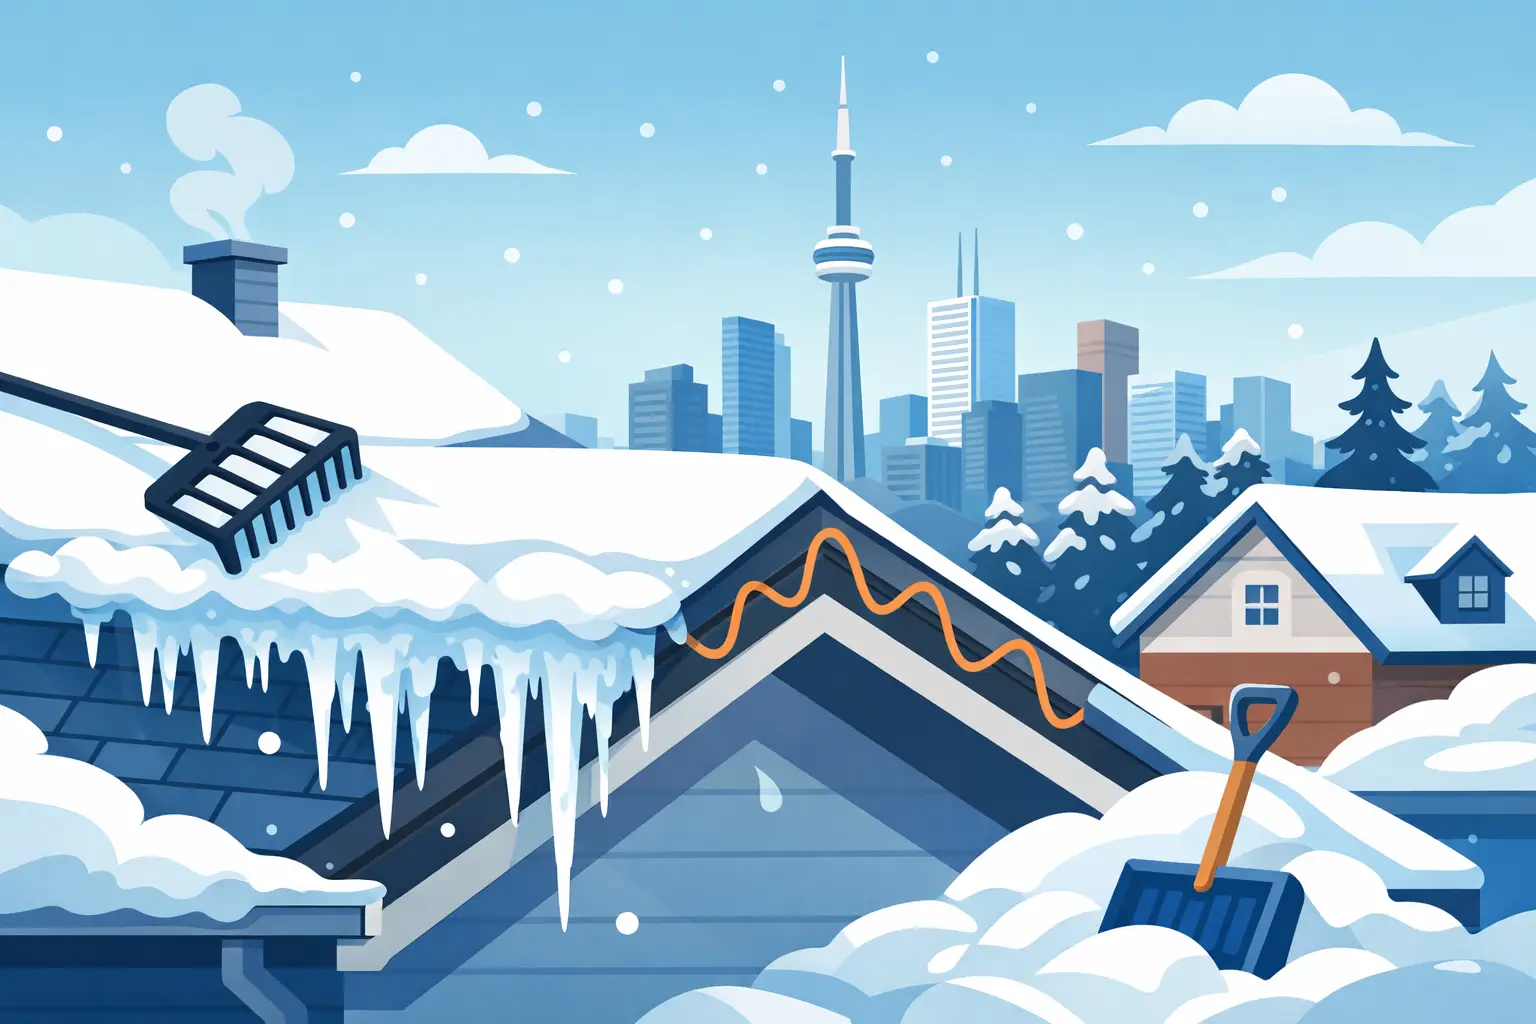
A thick ridge of ice along the eaves may look like a winter nuisance, but it can force meltwater beneath shingles, soak roof decking, stain ceilings, and damage insulation. Learning how to prevent ice dams starts with understanding that the visible ice is usually a symptom of heat escaping from the building below.
Ice dams are especially common in Toronto-area homes because snow can remain on a roof through repeated freeze-thaw cycles. The right solution is rarely a quick roof-level fix alone. It is a coordinated approach involving attic air sealing, insulation, ventilation, drainage, and safe seasonal maintenance.
Why ice dams form
An ice dam develops when the upper portion of a roof becomes warm enough to melt snow while the roof edge remains below freezing. Meltwater travels down the slope, reaches the colder eaves, and freezes. As that ice thickens, it creates a barrier that traps additional water behind it.
The trapped water has only one direction to go: back up the roof. Standard shingles are designed to shed water flowing downhill, not to hold standing water under snow and ice. Water can then work beneath shingles, through nail openings or flashing details, and into the roof assembly.
The primary cause is uneven roof temperature. Warm indoor air often leaks into the attic through gaps around light fixtures, plumbing stacks, attic hatches, wiring penetrations, and interior wall openings. Inadequate or compressed insulation allows more heat to reach the roof deck. Poor attic ventilation can compound the issue by allowing warm, moist air to remain trapped under the roof.
How to prevent ice dams by controlling attic heat
The most durable prevention strategy is to keep the roof deck as close as possible to the outdoor temperature. That does not mean making the attic colder by itself. It means stopping heat from the living space from entering the attic in the first place, then allowing the attic to ventilate properly.
Start with air sealing
Air sealing is often the highest-value first step because moving air carries far more heat than heat passing slowly through insulation. A home may have a deep layer of attic insulation and still lose enough warm air through small openings to create hot spots on the roof.
A qualified contractor or insulation professional should inspect common leakage points, including attic hatches, recessed lighting, duct chases, bathroom fan penetrations, plumbing vents, and gaps at top plates. These openings should be sealed with materials appropriate for their location and temperature exposure. Recessed lights and chimneys require particular care because clearances and fire-safety requirements apply.
Do not simply cover an air leak with loose-fill insulation. Insulation slows heat transfer, but it does not stop warm air movement. Air sealing should happen before insulation is added or upgraded.
Add or correct attic insulation
Once air leaks are addressed, insulation helps maintain a consistent separation between conditioned rooms and the attic. In older homes, insulation can be thin, uneven, damp, compacted, or displaced by previous service work. Any of these conditions reduce its performance.
The proper insulation level depends on the existing roof assembly, available attic depth, local energy requirements, and whether the attic is vented or conditioned. An assessment should look beyond the average depth of insulation. Areas near eaves, around access hatches, and beside framing members are frequently under-insulated.
Avoid blocking soffit intake vents with insulation. Baffles installed at the eaves keep a clear air channel from the soffits into the attic while preventing wind from disturbing loose-fill insulation. This detail is small, but it is central to a functioning vented attic.
Maintain balanced attic ventilation
Ventilation helps remove moisture and any residual heat from a vented attic. In most conventional roof systems, fresh air enters through soffit vents and exits through ridge vents or other high-level exhaust vents. The goal is a continuous, balanced airflow path.
More ventilation is not automatically better. Random roof vents added without adequate intake can create limited airflow and may introduce weatherproofing concerns. Powered attic fans can also create problems if they pull conditioned air from the house through ceiling leaks. The ventilation design should match the roof structure and be evaluated alongside air sealing and insulation.
Homes with cathedral ceilings, low-slope sections, finished attic spaces, or complex additions require a more detailed review. These assemblies may have restricted ventilation paths or insulation limitations that cannot be corrected with a simple ridge vent installation.
Keep water moving at the roof edge
A clean roof edge and drainage system cannot eliminate an attic heat-loss problem, but they reduce the chance that snowmelt will pool and refreeze in the wrong place. Before winter, inspect gutters, downspouts, and roof valleys for leaves, shingle grit, branches, and other debris.
Gutters should be securely fastened, properly pitched, and directed to clear downspouts. Damaged or sagging gutters can hold water that freezes into heavy ice, stressing fascia boards and gutter fasteners. Downspout extensions should carry water away from walkways and foundations where practical.
Gutter guards can reduce debris accumulation, but they are not an ice-dam cure. Some guard profiles can collect snow or allow ice to bridge across the gutter. The right choice depends on the roof pitch, surrounding trees, exposure, and the property’s maintenance plan.
Use proper roof-edge protection during replacement
When a roof is replaced, ice and water protection is a critical detail in cold-weather regions. This self-adhering membrane is installed beneath shingles at vulnerable roof edges and, where needed, around valleys, penetrations, skylights, and other transitions.
The membrane is a secondary defense, not a substitute for ventilation or insulation. It helps protect the roof deck if water backs up beneath the shingles, but prolonged water intrusion can still damage materials and interior finishes. Correct installation depth, deck preparation, flashing integration, and shingle application all matter.
A professional roof assessment should also examine flashing at chimneys, walls, dormers, and vent pipes. These are common leak points during normal rain and become even more vulnerable when snow and ice hold water against them for extended periods.
Remove snow carefully when conditions require it
Roof snow removal can reduce the amount of meltwater available to feed an ice dam, particularly after heavy storms. However, it is not a routine task for every roof and should not be performed in a way that damages shingles or puts someone at risk.
A roof rake with a long extension can be used from the ground to pull back the lower few feet of snow, provided it can be done without standing beneath falling snow or ice. Leave a thin layer of snow on the shingles rather than scraping the roof surface. Metal tools, axes, hammers, and sharp shovels can tear shingles, puncture membranes, and create costly leaks.
Never climb onto an icy roof without the right training, fall-protection equipment, and safe access plan. Working at heights in winter requires more than caution. Snow-covered roofs can conceal weak spots, skylights, changes in elevation, and ice patches. For large accumulations, steep roofs, multi-story buildings, or active ice dams, professional removal is the safer decision.
Avoid temporary fixes that create larger problems
De-icing cables are sometimes installed along eaves to create channels for meltwater. They can be useful in specific locations, but they consume electricity, require correct installation, and do not address the source of uneven roof temperatures. Poorly installed cables can also damage shingles or create electrical concerns.
Applying salt directly to a roof is not recommended. It can harm roofing materials, corrode metal components, damage landscaping below, and produce uneven melting that refreezes elsewhere. Likewise, cutting channels through a heavy ice dam with tools can damage the roof and expose the person doing the work to falling ice.
For an active ice dam with interior leakage, the immediate priority is limiting water damage. Move belongings away from the affected area, collect dripping water, and contact a qualified roofing professional. Interior staining may continue to spread after the exterior leak has stopped, so the attic and ceiling cavity may also need to be inspected for wet insulation, mold conditions, and damaged drywall.
Know when the roof needs professional attention
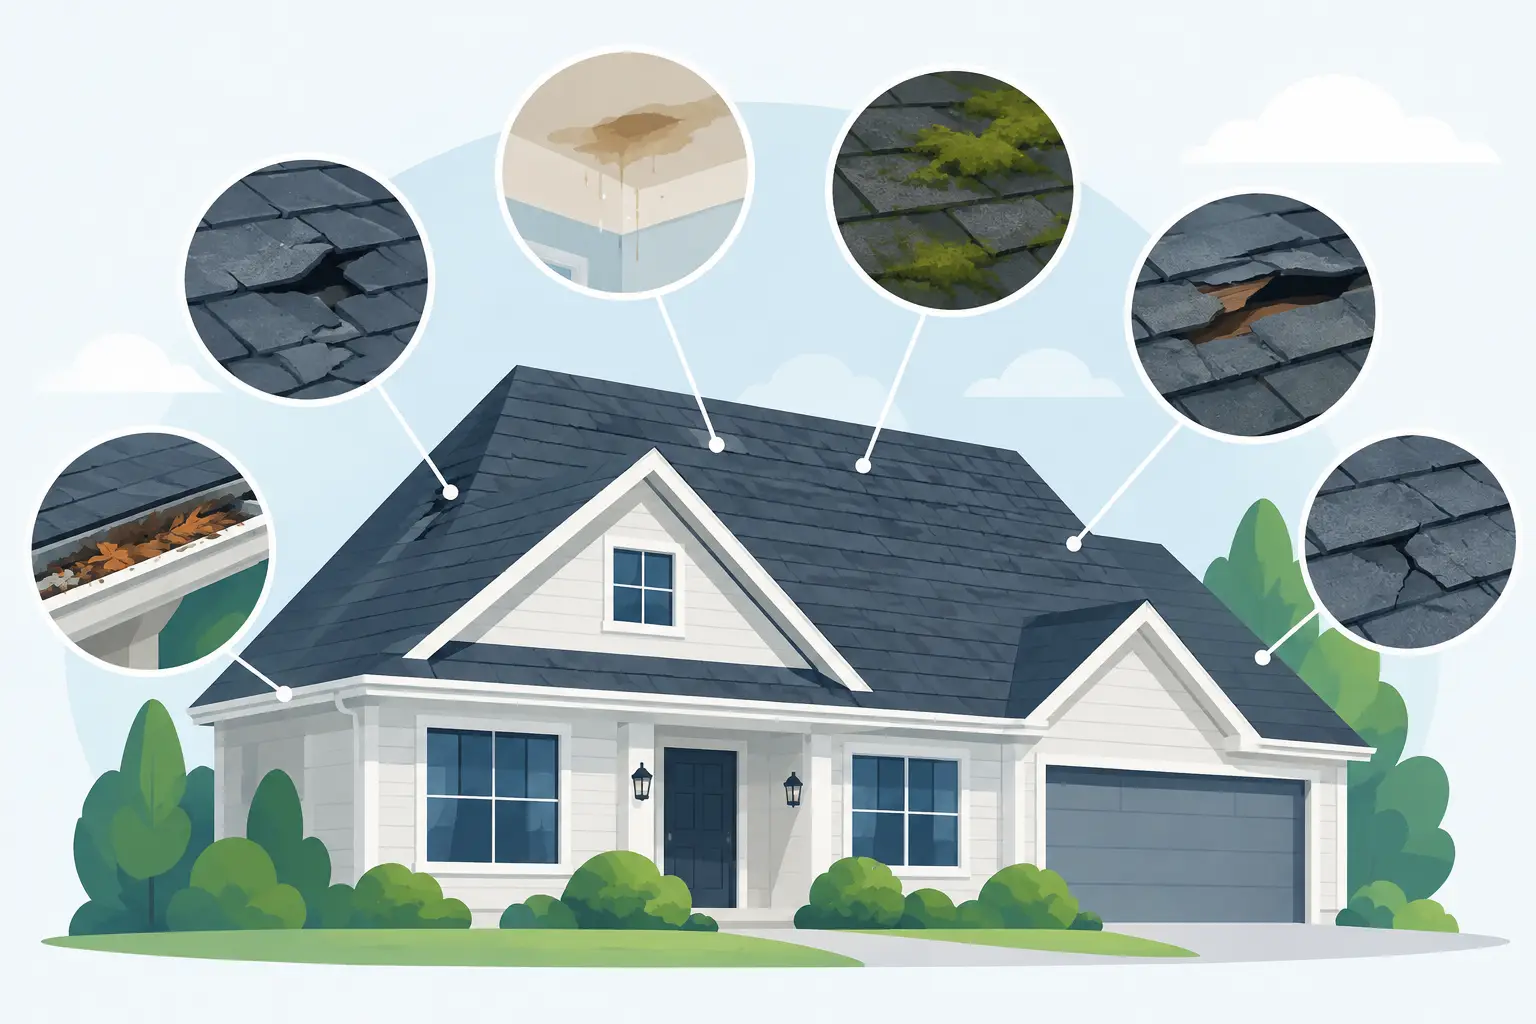
Recurring ice dams in the same area are a clear signal to investigate the roof and attic assembly. Watch for icicles concentrated in one section, persistent frost in the attic, damp insulation, peeling paint near exterior walls, ceiling stains, or water appearing around recessed lights and upper-floor windows.
A thorough assessment should identify whether the issue is driven by air leakage, insufficient insulation, blocked soffits, inadequate exhaust ventilation, roof geometry, drainage failures, or a combination of factors. On older homes, the answer is often a combination. Fixing only the visible symptom may provide short-term relief while the underlying heat loss continues.
Toronto Roofers approaches roof work with the same attention to installation details, safety practices, and system performance that a cold-climate roof requires. If ice dams have become a repeated problem, an on-site evaluation can help determine whether targeted maintenance, attic improvements, flashing repairs, or a properly designed roof replacement is the practical next step.
The best time to address an ice-dam pattern is before the next heavy snowfall. A dry attic, a consistently cold roof deck, and a clear drainage path give your roof the conditions it needs to carry winter weather without letting meltwater find its way inside.