An attic that feels like an oven in July or develops frost on the underside of the roof deck in winter is not simply uncomfortable. It is giving you a warning about heat and moisture moving through the home. Knowing how to improve attic ventilation means looking beyond a single roof vent and treating the attic as part of the complete roofing and insulation system.
For Toronto-area homes, the stakes are especially high. Long heating seasons create moisture indoors, while summer sun can drive attic temperatures far above the outdoor air temperature. A properly designed ventilation system helps protect shingles, roof decking, insulation, and the living space below. A poorly designed one can leave a homeowner with condensation, mold, ice damming, and premature roof repairs.
Start With the Cause, Not the Vent
Adding more roof vents is not always the answer. Attic ventilation works only when outside air has a clear path into the attic at the lower edge of the roof and out at the upper edge. If either side of that path is blocked, undersized, or incorrectly installed, additional openings may do very little.
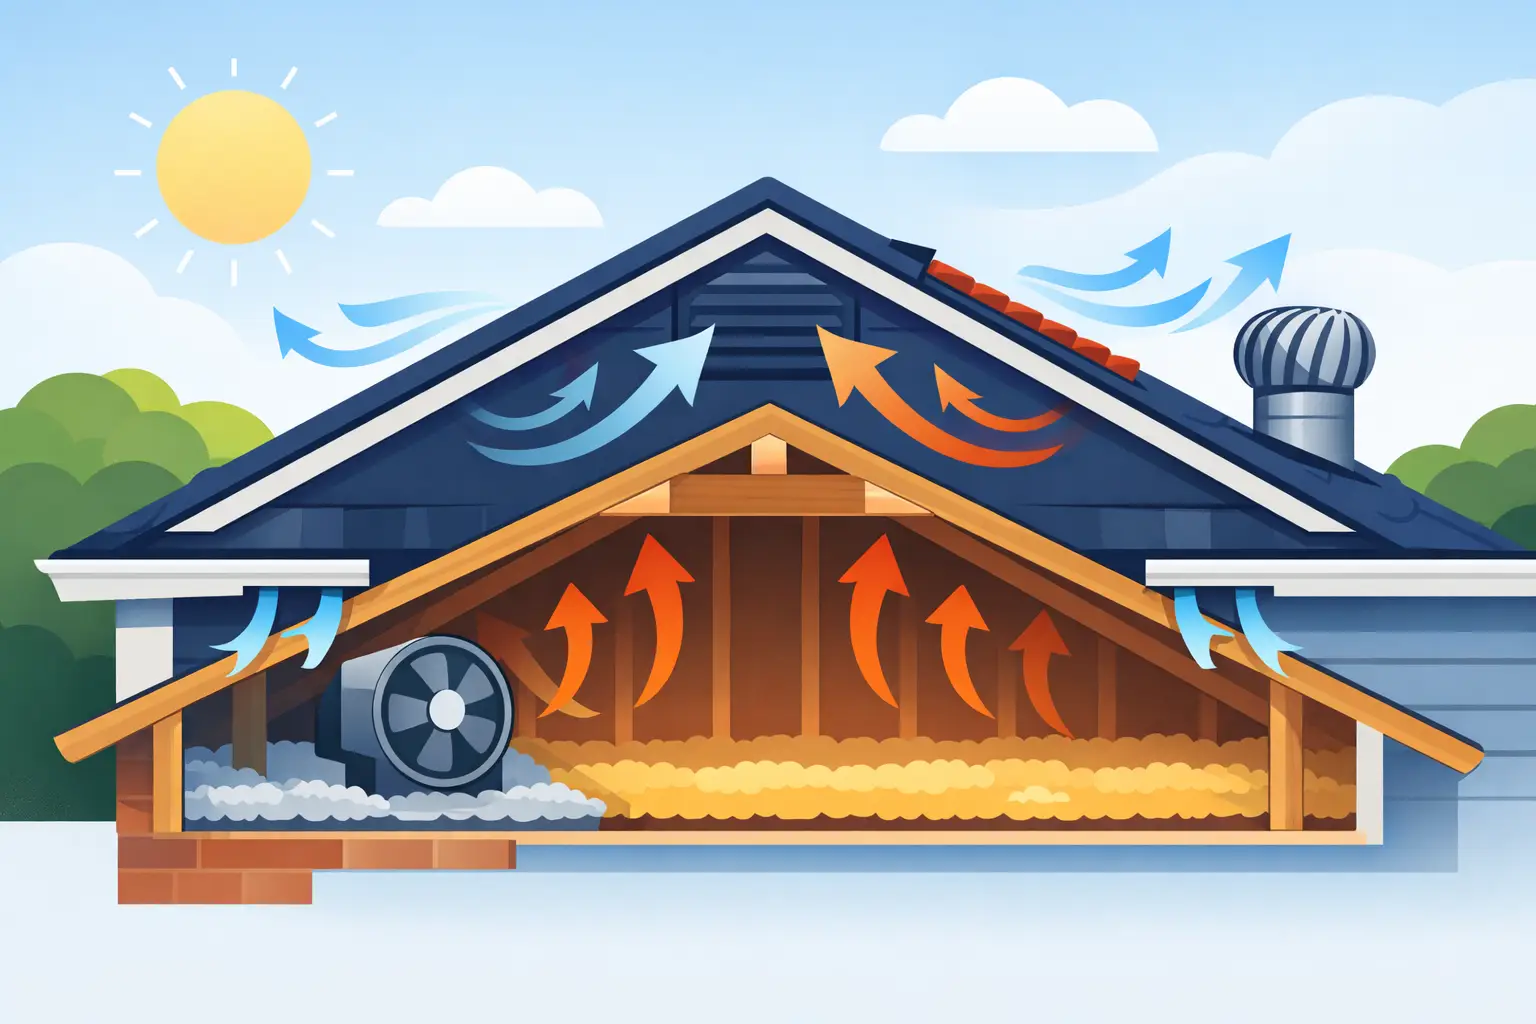
A roof inspection should first identify what is already in place. Common exhaust options include ridge vents, box vents, roof louvers, and powered vents. Intake is usually provided through continuous soffit vents, individual soffit vents, or, on certain roof designs, specialized edge-intake products. The most effective system depends on the roof shape, available overhang, attic layout, and the amount of unobstructed vent area the building requires.
Ventilation should also be separated from active moisture problems. A disconnected bathroom fan exhausting into the attic, an unsealed attic hatch, or warm air leaking around recessed lights can overload even a well-vented attic. Ventilation manages normal heat and moisture movement. It cannot compensate for uncontrolled indoor air leakage.
Balance Intake and Exhaust Ventilation
The central principle is balance. Exhaust vents near the ridge can remove warm, moist air only when adequate intake air is available at the soffits or lower roof edge. Without intake, an exhaust vent may pull air from gaps in the ceiling plane, bringing warm household air into the attic during cold weather.
That can create a damaging cycle. Warm interior air enters the attic, contacts cold roof decking, and condenses or freezes. When temperatures rise, the frost melts, potentially staining ceilings, wetting insulation, and encouraging mold growth. Homeowners sometimes assume this is a roof leak, but the source can be attic condensation.
As a general planning benchmark, ventilation is commonly calculated using net free vent area in relation to attic floor area. The exact requirement can vary with the building assembly, local code, vapor control details, and roof configuration. A qualified roofing contractor should calculate the actual net free area of the selected products rather than relying on the outside dimensions of a vent.
A balanced system typically distributes intake low and exhaust high. Continuous soffit intake paired with a continuous ridge vent is often an effective approach on suitable sloped roofs because it promotes airflow across the full attic. However, it is not the only acceptable design. Hip roofs, low-slope sections, cathedral ceilings, and roofs with limited soffit depth may need a different ventilation plan.
Do Not Mix Exhaust Types Without a Plan
Mixing ridge vents with box vents, gable vents, or powered attic fans can interfere with airflow. Air follows the easiest path. Instead of drawing fresh air from the soffits through the attic, one exhaust opening may pull air through another opening nearby.
That does not mean mixed systems are always wrong. Existing homes often have unusual roof geometry or separate attic compartments that require more than one strategy. The key is intentional design. Each attic section needs a defined intake path and exhaust path, not a collection of vents added over time.
Keep Soffit Vents Open Above the Insulation
Blocked soffits are one of the most common ventilation failures we see during roof work. Insulation is often pushed all the way to the roof edge, covering the intake openings from inside the attic. From the ground, the soffits may look vented. In practice, almost no outside air is reaching the attic.
Baffles, also called ventilation chutes, preserve an open air channel between the soffit area and the attic. They are installed between rafters near the eaves before insulation is placed against them. The baffle should hold insulation back while allowing intake air to travel upward.
This detail matters for energy performance as well as ventilation. You want adequate insulation over the exterior wall line, but you also need to avoid compressing insulation or blocking airflow. The right installation delivers both. Simply pulling insulation back from the eaves may create a cold spot and heat loss, while packing it tightly into the soffit blocks the ventilation system.
Air-Seal the Ceiling Plane Before Adding More Venting
Attic ventilation and attic air sealing are different jobs, but they must work together. The ceiling beneath the attic is the boundary between conditioned living space and the unconditioned attic. Any openings in that boundary can allow expensive heated or cooled air to escape.
During an attic assessment, pay close attention to plumbing stacks, electrical penetrations, duct chases, attic hatches, pot lights, and the wall plates at the perimeter of the home. Older houses often have several small bypasses that add up to significant air movement.
Bathroom fans and kitchen exhaust ducts require special attention. They should discharge outdoors through an approved termination, not into the attic or soffit cavity. A fan vented into the attic deposits warm, humid air exactly where you do not want it. In winter, that moisture can accumulate quickly on the underside of the roof deck.
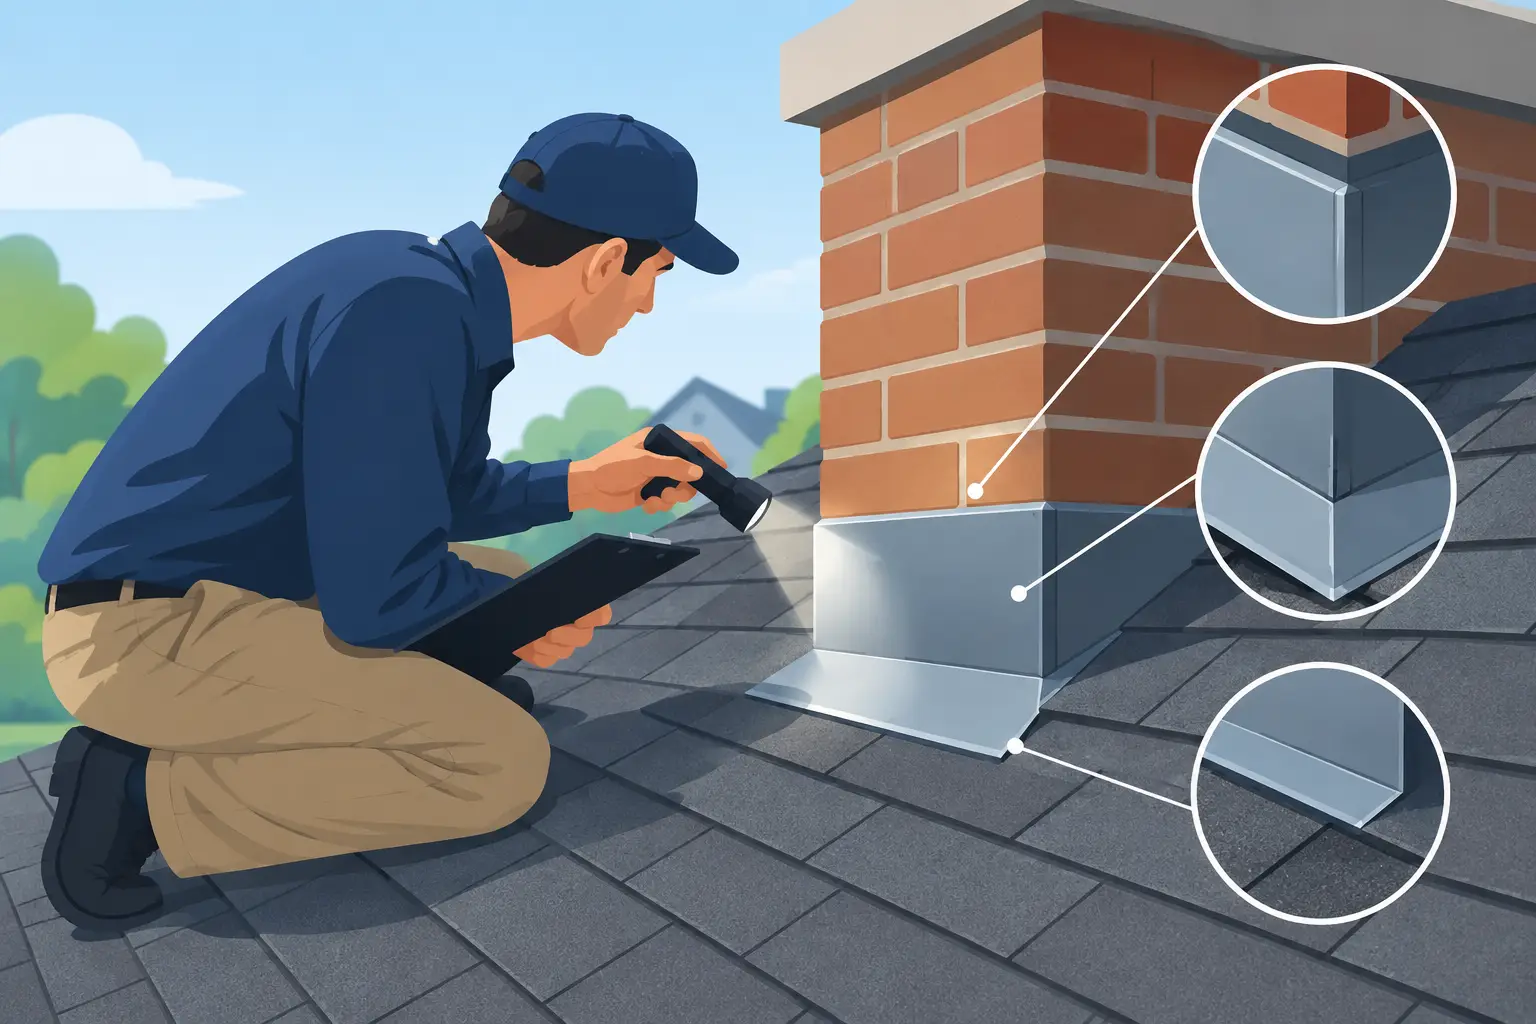
Air sealing should be completed with materials appropriate for the location and temperature exposure. Fire-rated assemblies, electrical fixtures, chimneys, and vent pipes may require specific clearances or noncombustible materials. This is not an area for indiscriminate spray foam or caulk application.
Inspect the Roof Assembly for Warning Signs
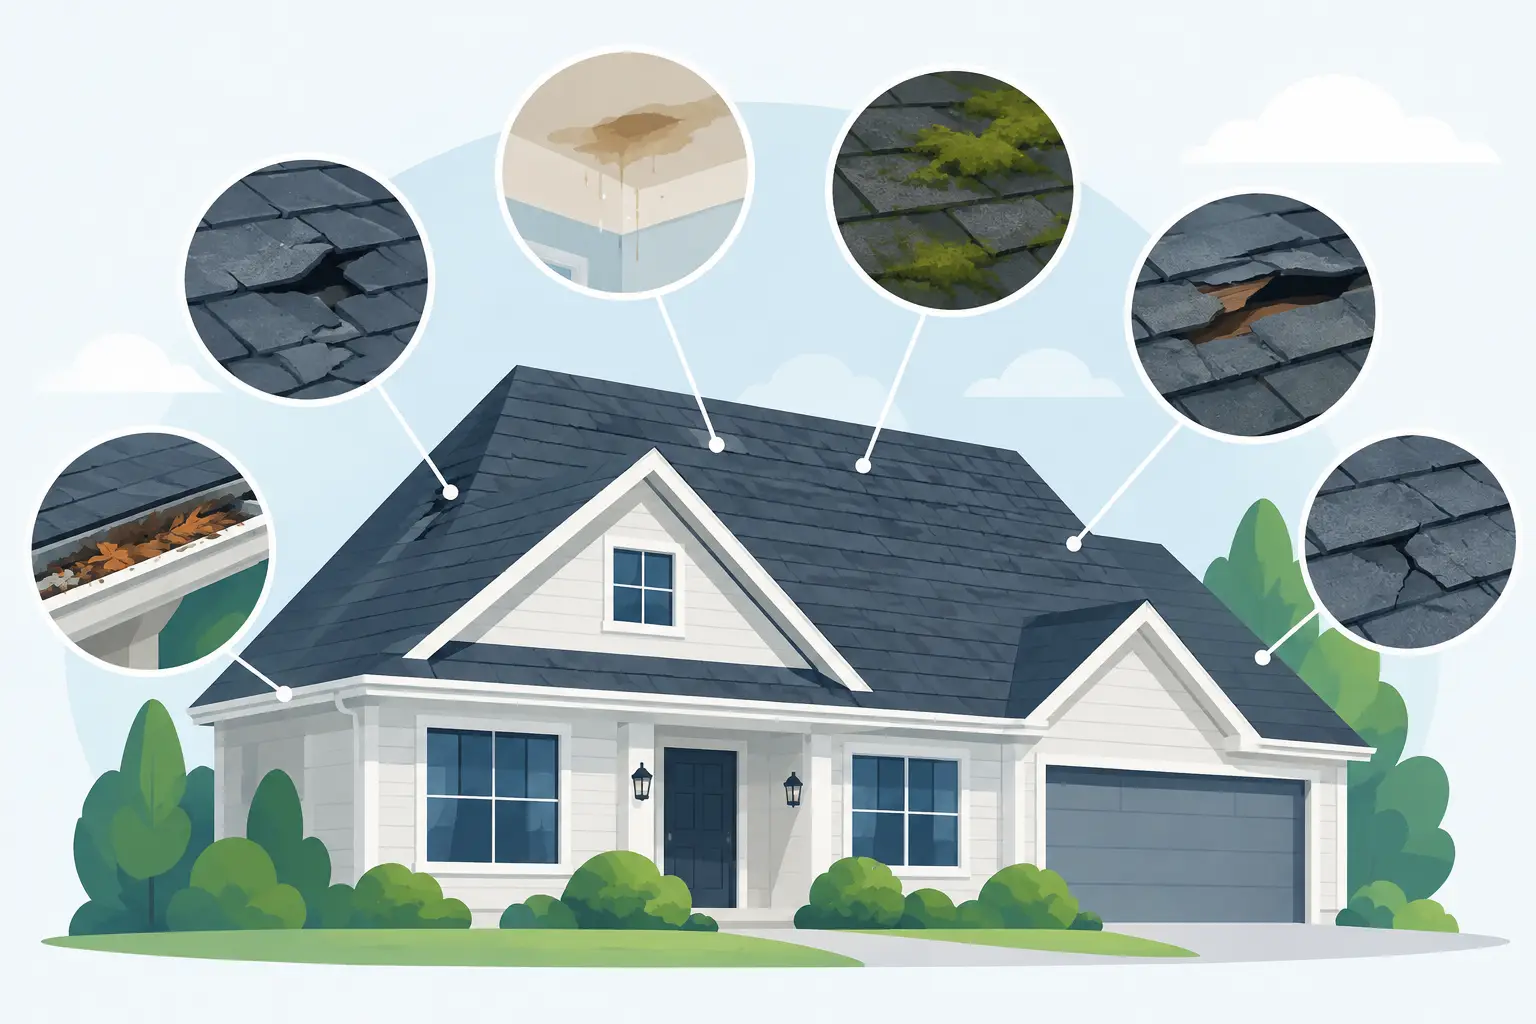
Some signs of poor attic ventilation are visible from inside the attic, while others appear on the roof or inside the home. A professional inspection is worthwhile if you notice several of these conditions:
- Frost, water droplets, dark staining, or mold on roof decking and framing
- Wet, compressed, or uneven attic insulation
- Recurring ice dams along roof edges during winter
- Peeling paint, ceiling stains, or persistent humidity near upper-floor ceilings
- Excessive attic heat, curling shingles, or deteriorating roof sheathing
None of these symptoms has one guaranteed cause. Ice dams, for example, often involve heat loss and inadequate air sealing as much as ventilation. Roof stains may indicate condensation, a plumbing issue, or an active roof leak. A careful assessment distinguishes among them before repairs begin.
Choose Roof Vents That Fit the Roof Design
Vent selection should follow the roof, not a generic checklist. Ridge ventilation is discreet and effective when a roof has a continuous ridge and sufficient intake. Box vents can serve smaller or interrupted roof planes. Gable vents may help in certain configurations, but they do not provide the same consistent low-to-high airflow as a balanced soffit-and-ridge design.
Powered attic fans deserve a measured approach. They can be useful in specific applications, particularly where conventional passive ventilation is not feasible. But on a typical home, an improperly installed powered fan can depressurize the attic and draw conditioned air from the house through ceiling leaks. That increases utility costs and can worsen moisture movement. Passive, balanced ventilation is generally the first option to evaluate.
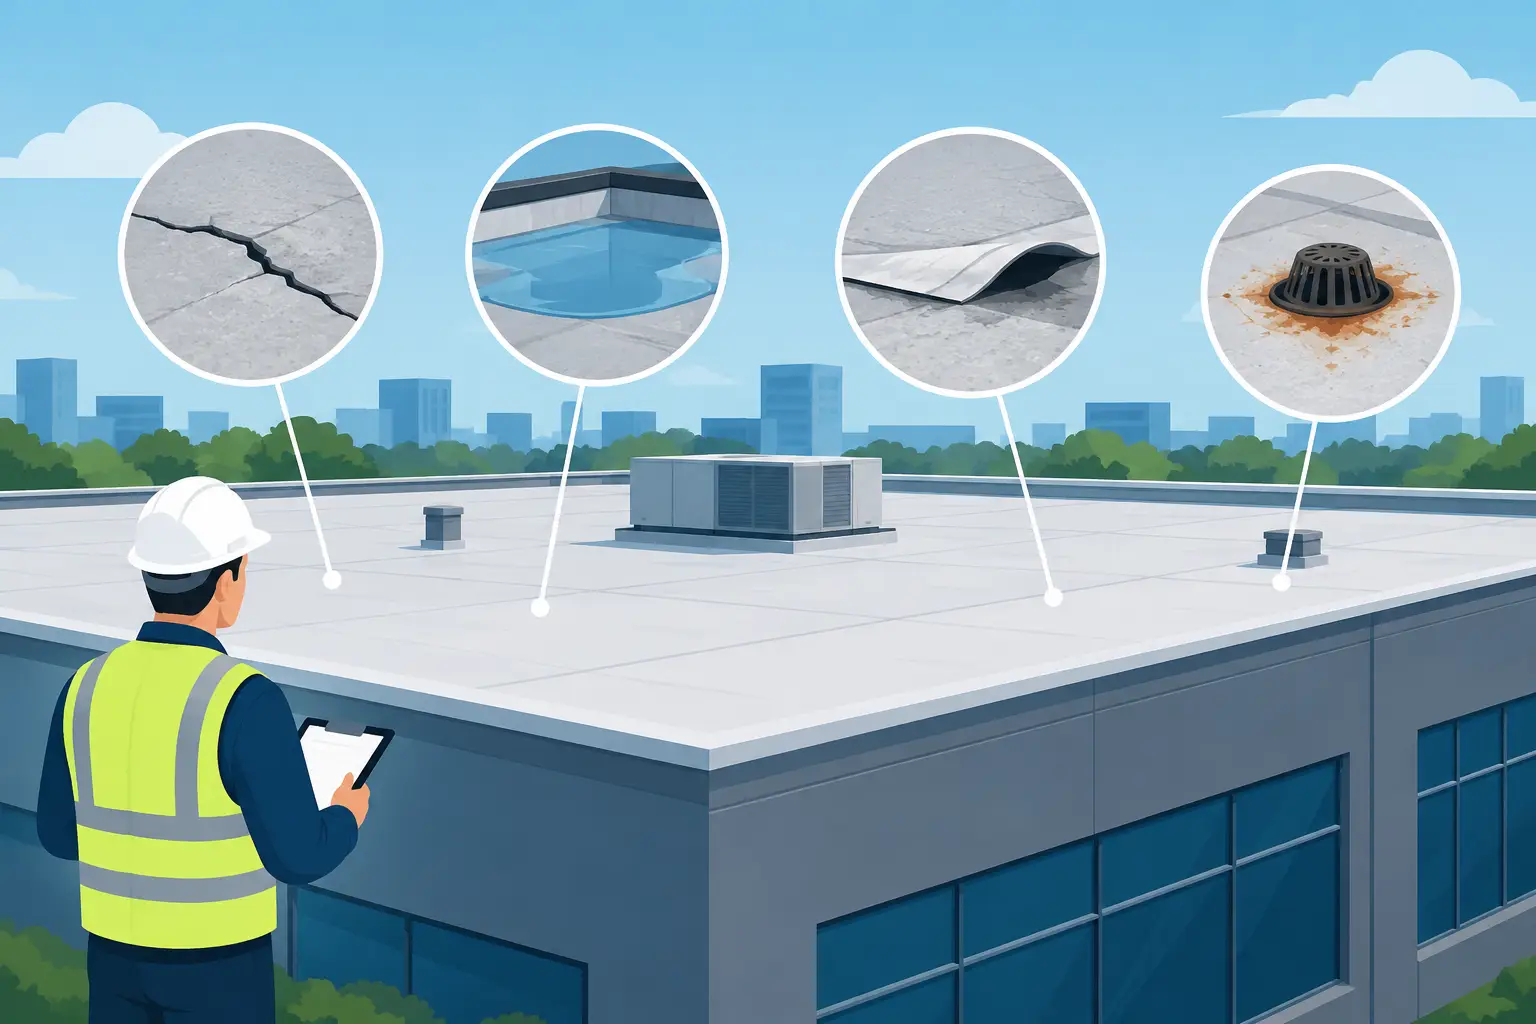
Commercial properties require the same discipline, though their assemblies may be more complex. Low-slope roofs, enclosed roof cavities, mechanical systems, and larger building footprints should be assessed as a coordinated roofing and ventilation project. Ventilation changes should never compromise the roof membrane, drainage plan, fire requirements, or manufacturer warranty.
Make Ventilation Part of Planned Roof Work
The best time to correct many ventilation deficiencies is during roof replacement. When shingles are removed, the roofing team can inspect decking, verify intake and exhaust locations, install approved vent products, and address damaged sheathing before the new roof system is installed.
That does not mean homeowners should wait if there is active condensation, mold, or a blocked exhaust duct. Those conditions should be investigated promptly. But if the roof is nearing replacement age, combining ventilation upgrades with the project can avoid duplicate labor and help ensure that flashing, underlayment, shingles, and vents work as one system.
A detailed estimate should identify the ventilation products proposed, the intended intake and exhaust strategy, and any limits created by the existing roof design. Toronto Roofers approaches this work with trained installers, on-site assessment, and direct accountability for the roofing details that affect long-term performance.
Your attic should not be a hidden source of moisture, heat loss, or roof damage. If it shows warning signs, have the full system evaluated – roof vents, soffits, insulation, air sealing, and exhaust ducts together. The right correction is rarely just more ventilation; it is a properly balanced assembly built to protect the home through every season.