A leak near a chimney, skylight, wall, or roof valley rarely means the entire roof has failed. More often, water has found a gap in the flashing system that is meant to direct it safely away. This roof flashing repair guide explains what to look for, which repairs can hold up, and when a professional inspection is the safer choice.
Flashing repairs demand more precision than they appear to. A patch applied in the wrong location can trap water, conceal damaged decking, or redirect the leak into another part of the roof assembly. The goal is not simply to stop visible dripping. It is to restore the roof’s intended drainage path.
What Roof Flashing Does
Roof flashing is the metal or membrane material installed wherever roofing meets a vertical surface, changes direction, or is interrupted by a penetration. Common materials include galvanized steel, aluminum, copper, and lead, depending on the roof type and application.
On a properly installed roof, flashing works with underlayment, shingles, sealants, and drainage slopes. Water should shed over each overlapping layer and move toward the gutters. If one piece is loose, corroded, improperly lapped, or punctured, wind-driven rain and melting snow can reach areas that should remain dry.
The most leak-prone flashing locations are chimneys, sidewalls, skylights, plumbing vents, dormers, roof valleys, and transitions between roof sections. Flat and low-slope commercial roofs also rely on flashing at parapet walls, curbs, drains, HVAC penetrations, and expansion joints.
Signs Your Flashing Needs Repair
Water stains on a ceiling are a common warning, but they do not always appear directly below the failed flashing. Water can travel along roof decking, rafters, insulation, or framing before entering the building. A stain near a chimney may originate higher on the roof or at a sidewall transition.
From the ground, look for lifted shingles around penetrations, rust staining, exposed fasteners, separated metal edges, cracked sealant, or flashing that appears bent away from the roof or wall. Inside the attic, check for damp insulation, dark wood staining, mold growth, or daylight around roof penetrations.
After a storm, pay attention to a musty odor, bubbling paint, or recurring moisture in the same room. These signs justify a timely inspection, even if the drip has stopped. Intermittent leaks often become active only during wind-driven rain, freeze-thaw conditions, or heavy snow melt.
Roof Flashing Repair Guide: Identify the Failure First
A reliable repair begins with diagnosis. Roofing materials overlap in a specific sequence, so the obvious gap is not always the source of the problem. A trained roofer will inspect the flashing itself, the shingles or membrane around it, the underlayment, roof deck condition, and the adjoining wall or masonry.
Step Flashing at Walls and Dormers
Step flashing consists of individual metal pieces woven between shingle courses where a sloped roof meets a vertical wall. Each piece must overlap correctly so water moves down and out, rather than behind the siding or cladding.
Failures commonly occur when flashing was face-nailed, omitted behind siding, installed over rather than beneath shingles, or covered with excessive roofing cement. If only one or two pieces are damaged and surrounding shingles remain sound, localized replacement may be appropriate. If the installation pattern is wrong throughout the wall, a larger section may need to be opened and rebuilt.
Chimney Flashing
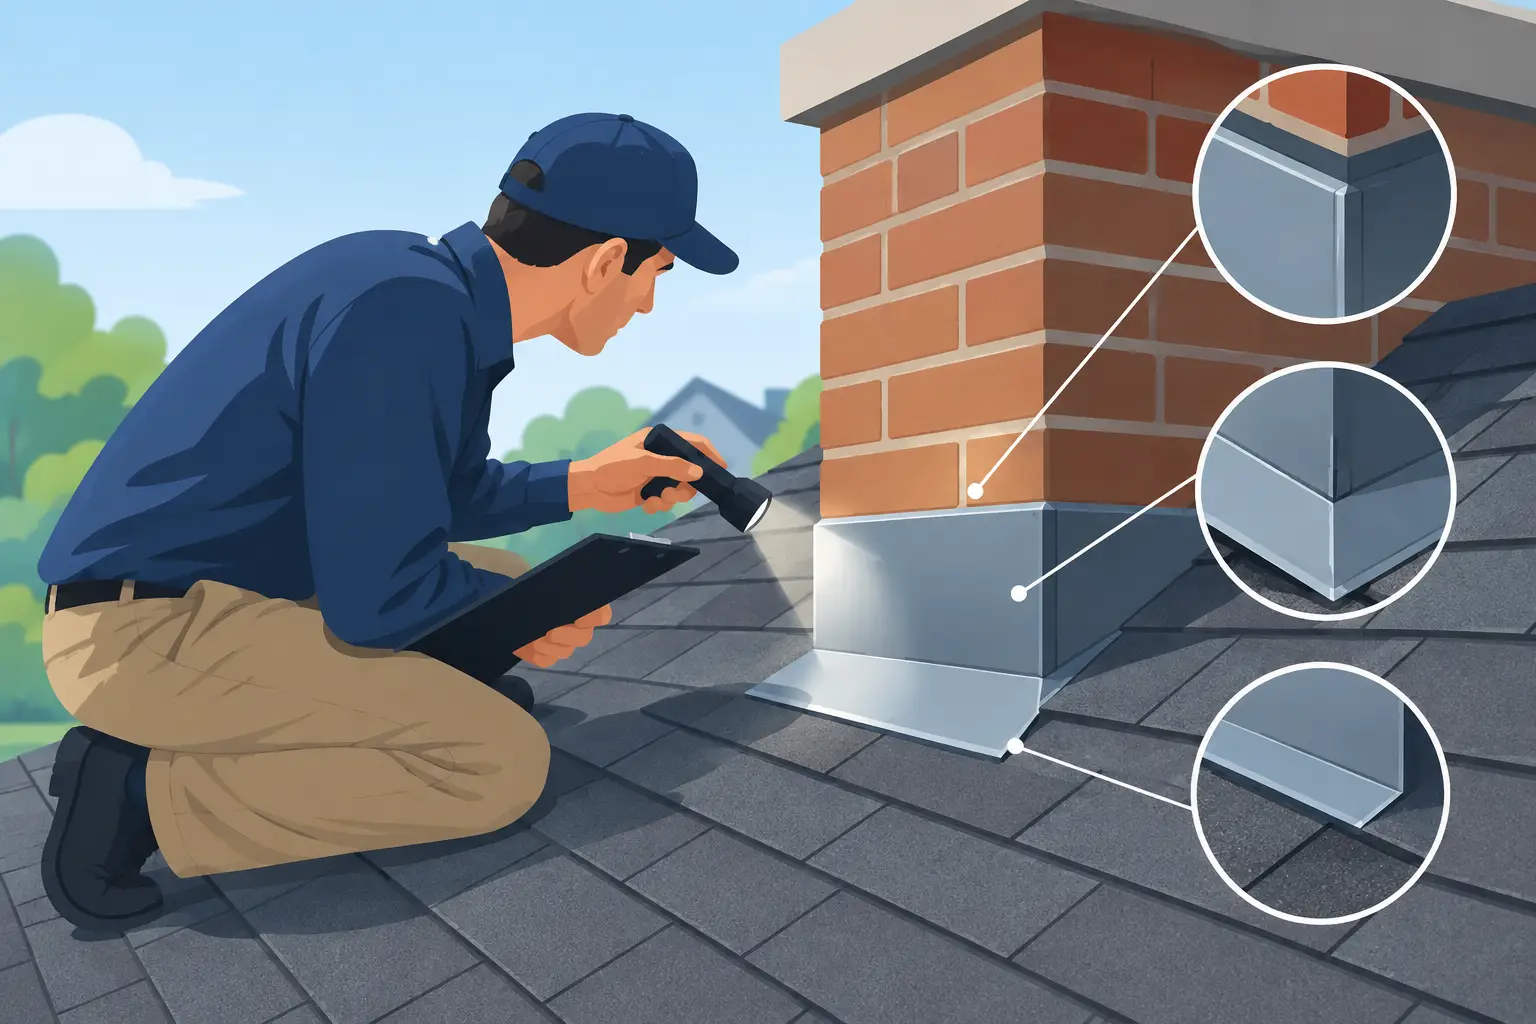
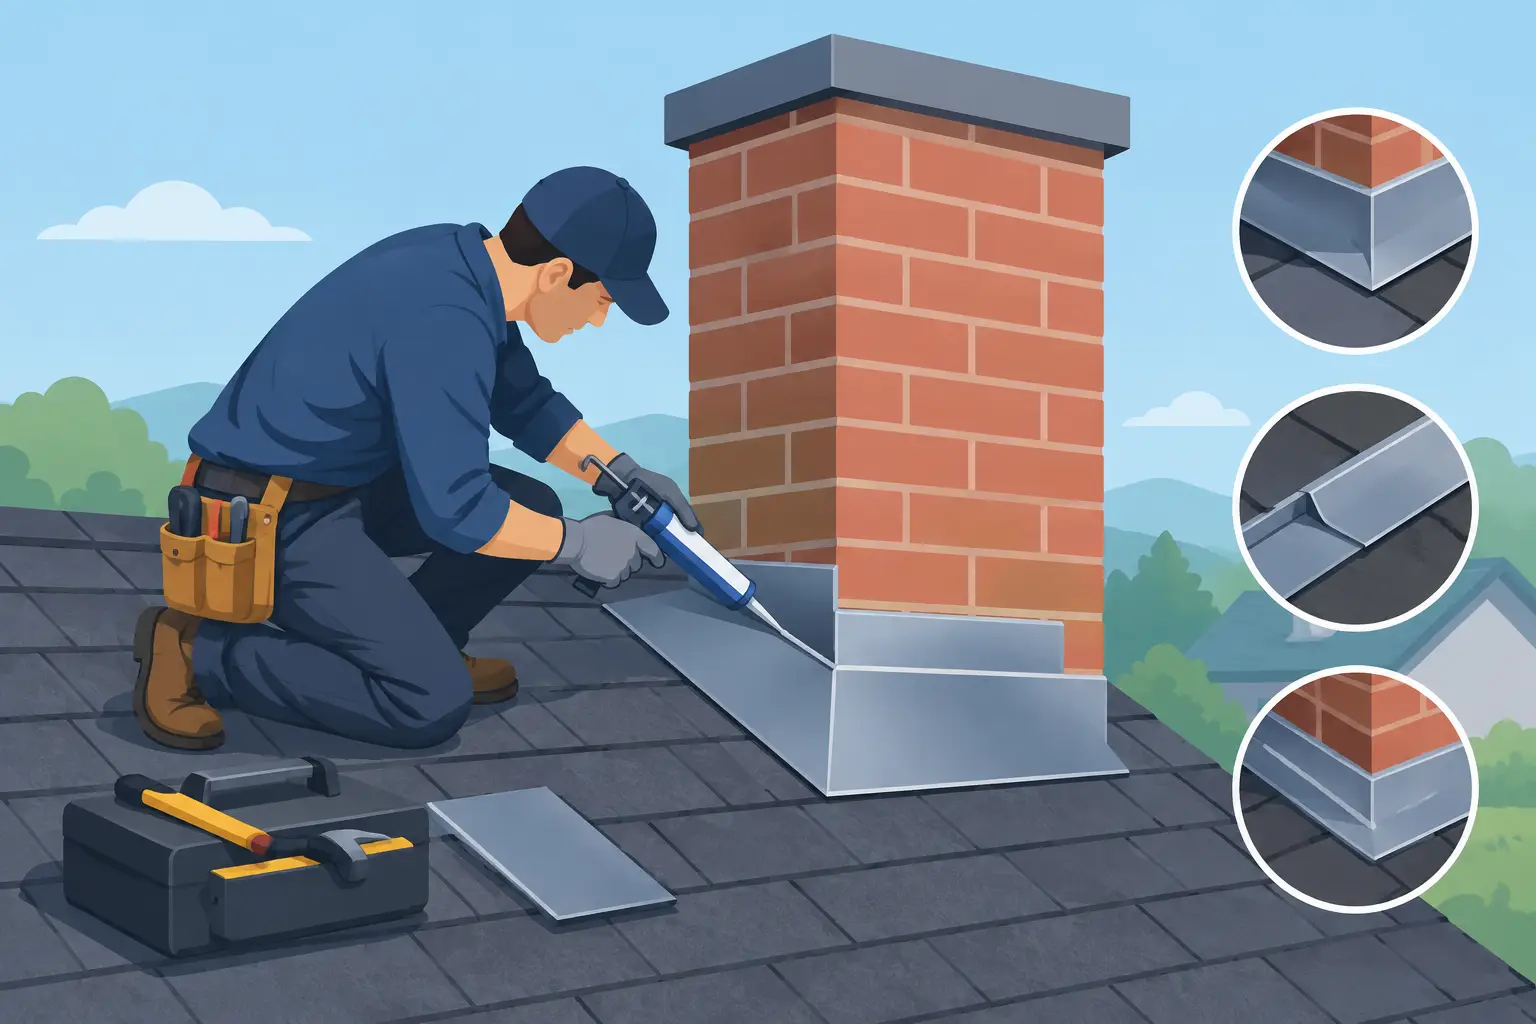
Chimneys typically use base flashing at the roof surface and counterflashing embedded into mortar joints or attached to the masonry. The counterflashing protects the upper edge of the base flashing from water entry.
Cracked mortar, loose counterflashing, corroded metal, and failed sealant are frequent problems. Recaulking can be part of a proper repair, but sealant alone is not a substitute for secure, correctly layered flashing. Where masonry has deteriorated, roof repair and masonry repair may both be necessary.
Vent Pipe Boots and Penetrations
Plumbing vent boots are among the simplest flashing components, but they often fail as rubber or neoprene collars crack from age and weather exposure. A torn boot can allow water around the pipe even when the shingles look intact.
Replacement usually requires lifting or removing nearby shingles, installing the new flashing beneath the upper shingle courses, and resealing the system according to the roofing material requirements. Smearing mastic around a cracked boot may slow a leak temporarily, but it does not restore the worn collar.
Skylights and Valleys
Skylight leaks can result from damaged flashing, failed glazing seals, poor curb construction, or improper integration with the surrounding roof. The repair depends on the skylight type and its condition. An aging skylight may not justify extensive flashing work if the unit itself is near the end of its service life.
Valleys handle a high volume of water and deserve close attention. Debris buildup, exposed fasteners, cracked valley metal, worn membrane, or shingle deterioration can all create entry points. Because valley repairs affect a large drainage area, they should be handled carefully rather than covered with surface sealant.
When a Small Repair Is Enough
A localized flashing repair can be cost-effective when the failure is isolated, the roof deck is dry and structurally sound, and nearby roofing materials still have useful life. Examples include a single split vent boot, a loose piece of counterflashing, or limited corrosion on an otherwise well-installed system.
The trade-off is that a repair cannot reverse broad age-related wear. If shingles are brittle, curling, missing granules, or nearing replacement age, removing and reinstalling them around a repair can cause further damage. In that case, replacing the affected roof section or planning a full replacement may offer better long-term value.
A detailed estimate should explain the source of the leak, the proposed repair scope, the materials to be used, and whether hidden deck damage could change the work once the area is opened. Clear documentation matters for homeowners and property managers who need to make informed maintenance decisions.
Repairs to Avoid
Roofing cement and caulk have a role in specified details, but they are not universal fixes. Heavy applications can crack, collect debris, block drainage paths, and make later repairs more difficult. They can also hide the fact that metal flashing has lifted or that shingles were installed in the wrong sequence.
Avoid driving exposed fasteners through horizontal roof surfaces unless the system specifically calls for them. Every unnecessary fastener is a potential water entry point. Do not bend aluminum flashing aggressively in cold weather, as it can crack or deform.
Most importantly, do not work on a steep, wet, icy, or storm-damaged roof without proper fall protection and training. Working at Heights compliance, stable access, and safe ladder practices are not optional details. They protect the person performing the repair and prevent additional damage to the roof.
Protecting Flashing Between Repairs
Regular maintenance gives flashing a better chance of reaching its expected service life. Keep gutters and valleys clear so water does not back up at critical transitions. Trim branches that scrape the roof, and remove accumulated leaves around chimneys, skylights, and drains.
Schedule an inspection after severe wind, hail, or winter weather, especially if you see displaced shingles or water marks indoors. For commercial properties, include roof penetrations and perimeter flashing in scheduled maintenance records. Tracking minor defects early helps avoid interior damage, insulation replacement, mold remediation, and business disruption.
Toronto Roofers approaches flashing repairs as part of the complete roof system, not as a quick surface patch. Our trained, safety-conscious team can inspect the affected area, explain the condition clearly, and provide a detailed repair recommendation for residential and commercial properties.
A dry ceiling is reassuring, but it should not be the only standard for a successful repair. The right flashing work restores drainage, protects the roof deck, and gives the building a dependable path through the next heavy rain.