
A water stain around a chimney, a damp ceiling below a dormer, or a drip that appears only during wind-driven rain often points to one issue: failed flashing. Knowing how to repair roof flashing can help you identify a small problem before moisture reaches roof decking, insulation, drywall, or structural framing. The repair itself, however, must match the type of flashing, roof material, and source of the failure.
Flashing is not simply metal placed around a roof opening. It is a layered drainage system that directs water back onto the roof surface. When it is installed incorrectly, punctured, corroded, or sealed with the wrong material, water can travel behind it even when the roof shingles still look serviceable.
What Roof Flashing Does
Roof flashing protects the vulnerable transitions where a roof meets another surface. You will typically find it around chimneys, skylights, vent pipes, walls, valleys, and dormers. Common materials include galvanized steel, aluminum, copper, and lead, although the right choice depends on the roof system and local conditions.
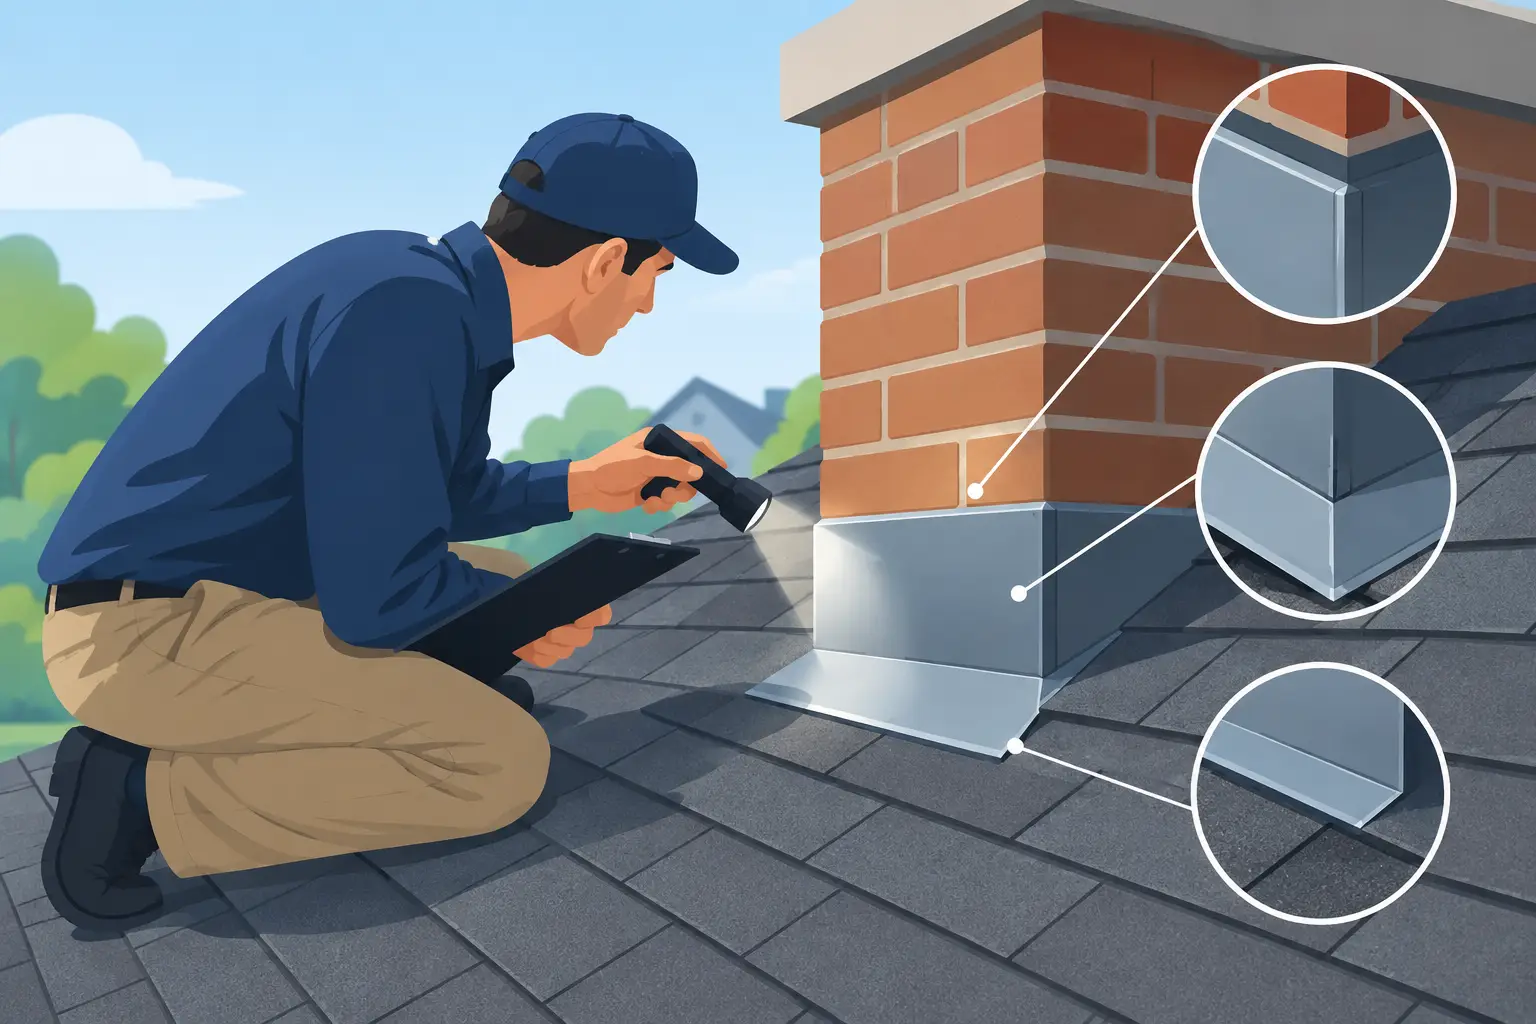
Most residential shingle roofs use several flashing components together. Step flashing runs along sidewalls, with each piece integrated between shingle courses. Counterflashing covers the upper edge of step flashing at masonry walls and chimneys. Pipe boots seal plumbing vents, while valley flashing manages the heavy volume of water where two roof slopes meet.
A leak in one of these areas may be caused by failed sealant, lifted shingles, missing fasteners, cracked rubber, loose counterflashing, or rusted metal. Treating every flashing leak with a bead of caulk is a short-term approach that can trap water or conceal a larger installation failure.
Inspect the Area Before You Repair Roof Flashing
Start from inside the building when possible. Look in the attic for darkened wood, wet insulation, mold-like staining, or water trails on the underside of the roof deck. The visible ceiling stain may be several feet away from where water enters, especially on sloped roofs.
From the ground, inspect the roofline with binoculars. Look for bent metal, exposed fasteners, cracked pipe boots, lifted shingle edges, deteriorated sealant, or debris packed behind a chimney or wall. Avoid climbing onto a steep, wet, icy, or visibly damaged roof. In Toronto and surrounding areas, freeze-thaw cycles can loosen flashing and make roof surfaces especially hazardous during shoulder seasons.
If you can safely access the roof with proper fall protection, inspect only when the surface is dry. Working at heights requires more than a ladder and good intentions. A professional roofer uses appropriate access equipment, harnessing, roof anchors, and safe work procedures to protect both the crew and the property.
Match the Repair to the Type of Failure
Failed Sealant at a Small Joint
Sealant can fail around a flashing edge, fastener head, or small overlap. If the metal is sound and correctly layered, remove loose or cracked old sealant first. The surface must be clean and dry before applying a roofing-compatible sealant.
Use sealant sparingly. It should reinforce a properly installed detail, not replace missing flashing or bridge large gaps. Roofing cement may be appropriate for limited shingle repairs, but it is not a substitute for correctly lapped metal components. Excess mastic can crack over time and makes future repairs harder to assess.
Loose or Exposed Fasteners
Fasteners placed through the wrong area of flashing can create direct leak paths. This is especially common when someone attempts a quick repair at a chimney or sidewall. Remove failed fasteners only if doing so will not disturb the surrounding roof system, then install approved fasteners in the proper location and seal them as required by the flashing detail.
Do not drive screws through the flat, water-shedding portion of flashing unless the manufacturer detail specifically calls for it. Water naturally follows gravity, and a hole in the wrong place may leak long after it appears sealed.
Cracked Plumbing Vent Boot
A split rubber collar around a plumbing vent is one of the more common and visible flashing failures. The repair may involve replacing the boot or installing a compatible repair collar, depending on the pipe, shingle condition, and existing flashing style.
For a full replacement, the surrounding shingles usually need to be lifted carefully so the new flashing flange can slide beneath the upper shingles and remain on top of the lower course. This overlap order matters. Water must always shed over the material below it, never behind it.
Damaged Step Flashing
Step flashing repairs are more involved because each individual metal piece must be woven into the shingle courses. If one piece is missing, rusted through, or bent away from the wall, replacing it often requires removing adjacent shingles without damaging the remaining roof field.
The correct repair is not to cover the sidewall joint with surface sealant. A trained roofer removes the affected shingles as needed, installs new step flashing with proper laps, reinstalls matching shingles, and checks whether the wall cladding or counterflashing is also contributing to the leak.
Chimney Counterflashing Problems
At a masonry chimney, counterflashing should cover the top edge of the base or step flashing. Mortar joints can crack, metal can loosen, and older flashing can corrode at folds. If counterflashing has pulled away, water can enter behind it and travel into the roof assembly.
A lasting repair may require cutting or repointing a mortar joint, installing new counterflashing, and integrating it with the roof flashing below. This is not a place for surface caulk alone. Chimney work also demands careful attention to masonry condition, roof access, and the possibility of hidden water damage.
Materials and Details That Matter
Not all metals and sealants are compatible. Copper, aluminum, galvanized steel, and treated lumber can react when paired incorrectly, leading to corrosion and premature failure. The repair material should match the existing system where practical and follow the roof manufacturer’s requirements.
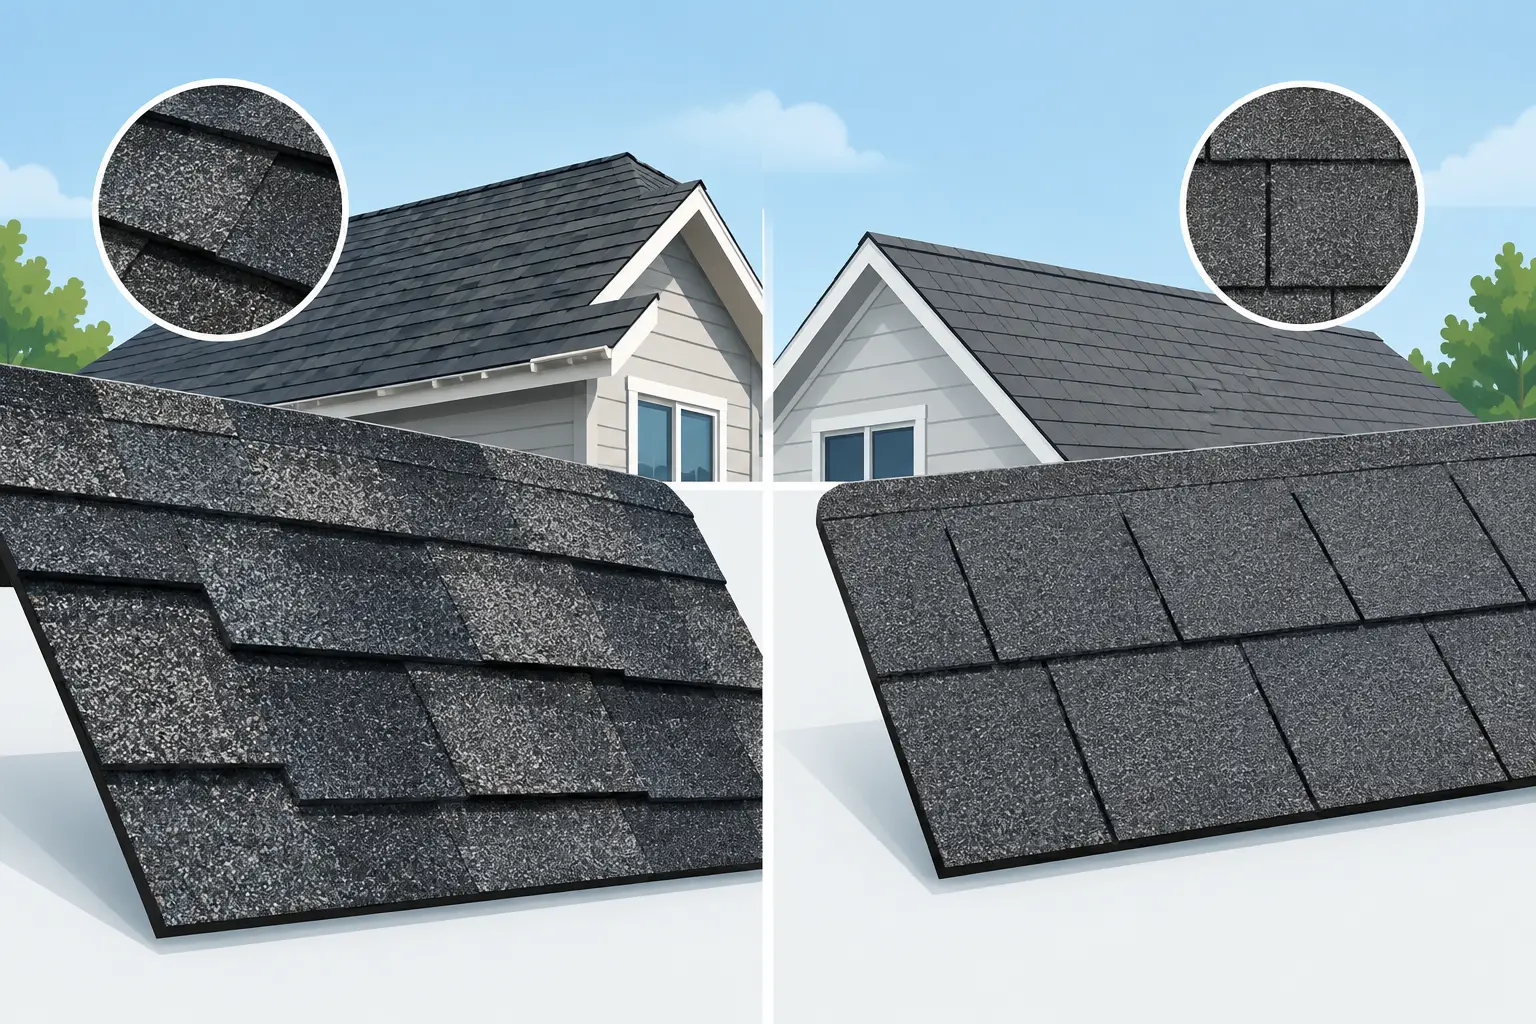
Shingle color and profile also matter when sections must be removed. A close visual match is useful, but the more important concern is preserving the roof’s water-shedding layers. On older roofs, brittle shingles may crack during repair. That does not automatically mean the entire roof needs replacement, but it can change the scope, cost, and best repair method.
Commercial roofs require a different evaluation. Flashing at parapet walls, rooftop units, drains, curbs, and penetrations is often part of a low-slope membrane system. Repairs may involve modified bitumen, EPDM, TPO, PVC, or liquid-applied materials. Using the wrong patch material can void warranty coverage or create a new leak point.
When a Professional Repair Is the Better Choice
A homeowner may be able to address a very small, accessible sealant failure on a low-slope area with the correct materials. Most flashing repairs are better handled by a qualified roofing contractor, particularly when the leak involves a chimney, skylight, wall transition, valley, commercial membrane, or damaged roof decking.
Call for professional assessment when you see recurring leaks, interior staining, missing shingles around flashing, extensive corrosion, soft roof areas, or loose masonry. These signs can indicate moisture has moved beyond the flashing itself. A proper inspection identifies the entry point, the extent of concealed damage, and the repair needed to restore the roof system rather than temporarily stop a drip.
Toronto Roofers provides on-site evaluations and detailed repair estimates for residential and commercial properties. Our trained, safety-conscious team assesses flashing as part of the complete roof assembly, including shingles, underlayment, ventilation, drainage, and surrounding penetrations.
A flashing repair should leave the roof ready for the next hard rain, not merely dry until the sealant fails again. If the source is uncertain or the repair requires disturbing shingles and metal layers, arrange an inspection before minor water intrusion becomes a larger roofing and interior restoration project.