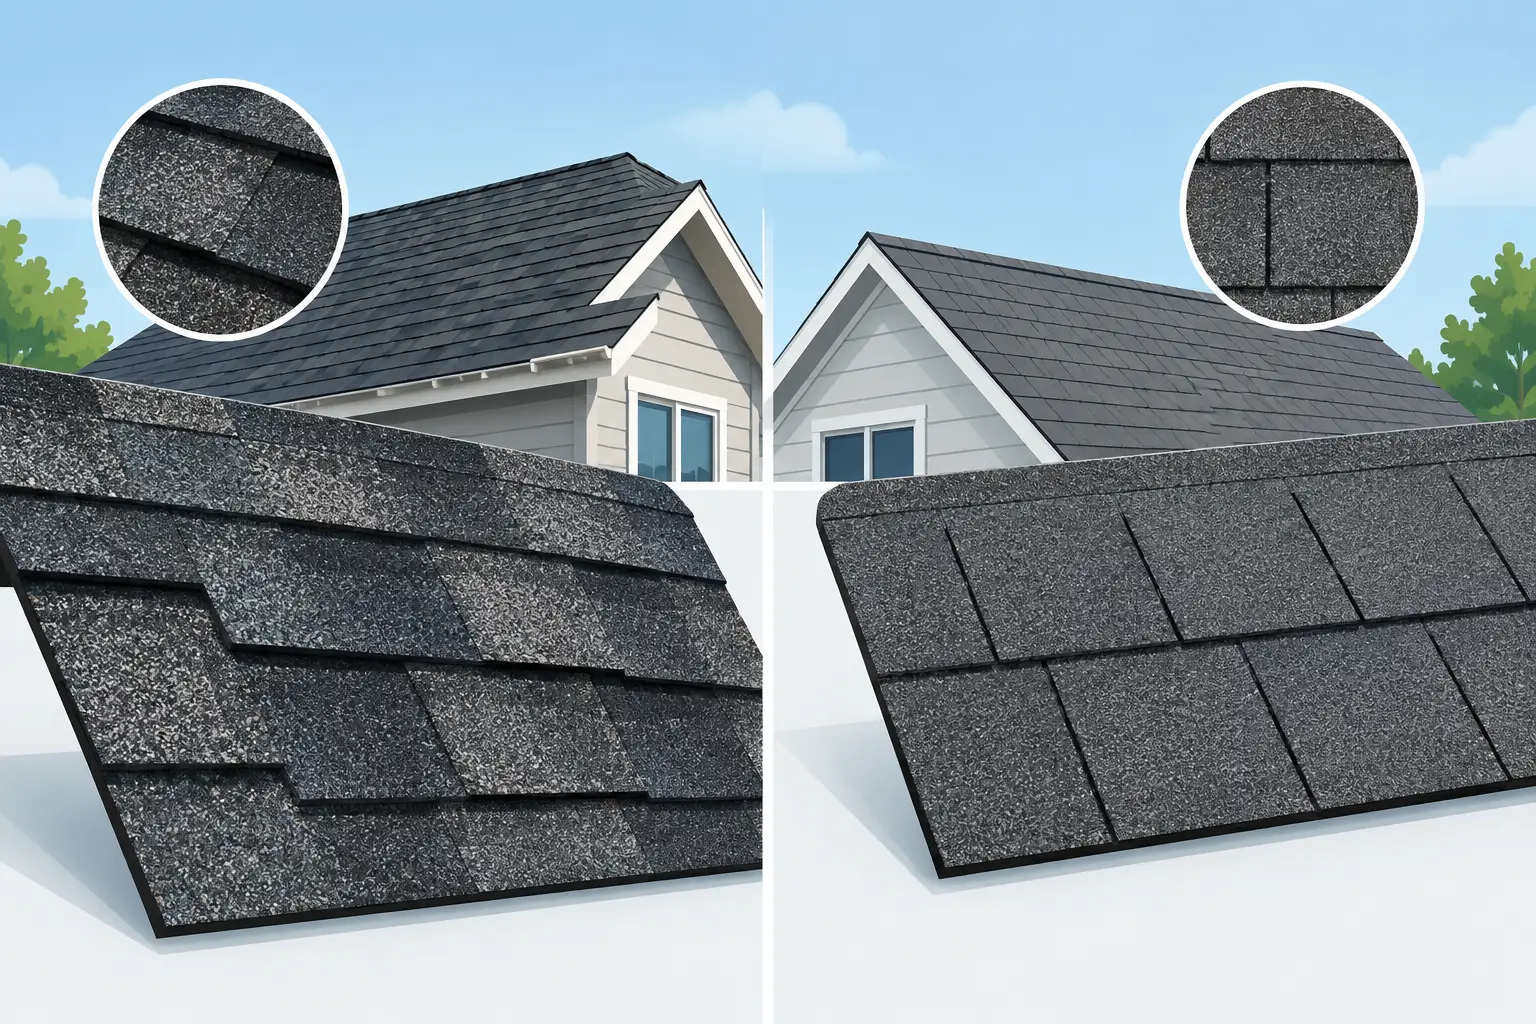
A roof can have shingles that look sound from the driveway and still leak at a chimney, vent, wall, skylight, or valley. These are the places where roofing materials meet, change direction, or are interrupted by a penetration. When you inspect roof flashing, you are checking the details that direct water away from those vulnerable transitions before it reaches the roof deck, insulation, walls, or ceiling.
For homeowners and property managers, a flashing inspection is not about climbing onto a steep roof with a tube of sealant. It is about recognizing warning signs early, documenting what you see, and bringing in a trained roofing professional when the repair involves height, concealed damage, or a roof system warranty.
What Roof Flashing Does and Why It Fails
Flashing is typically galvanized steel, aluminum, copper, or another corrosion-resistant material installed around roof features and intersections. Its job is simple: move water onto the roof surface and into the drainage path rather than allowing it behind shingles or into an opening.
Common flashing locations include chimneys, plumbing vents, exhaust vents, skylights, dormers, sidewalls, roof-to-wall transitions, valleys, and the edges of low-slope roof sections. Commercial buildings may also have flashing at parapet walls, curbs, drains, equipment penetrations, and expansion details.
Most flashing problems do not start with a dramatic hole. They begin with movement, aging sealant, lifted shingles, loose fasteners, corrosion, poor overlap, or an installation detail that was never properly integrated with the roofing material. Toronto’s freeze-thaw cycles can worsen small gaps. Water enters, freezes, expands, and opens the detail further. Wind-driven rain and ice buildup then test every weak point.
The right repair depends on the flashing type and the surrounding roof system. A failed vent boot may be a focused repair. A chimney with rusted step flashing, damaged masonry, and deteriorated shingles may require a larger section to be rebuilt correctly. Applying more caulk over every problem can hide the symptom while trapping water where it does not belong.
When to Inspect Roof Flashing
A visual check from the ground should be part of regular property care, especially after severe wind, heavy rain, or extended ice and snow conditions. A closer professional inspection is advisable at least once a year and before buying or selling a property, beginning a renovation, or making a warranty claim.
Timing matters. Spring inspections can reveal winter movement, ice-related damage, and moisture staining that developed during snowmelt. Fall inspections help identify issues before prolonged cold weather makes repairs more difficult. For commercial properties, flashing should also be reviewed after rooftop equipment work, HVAC service, masonry work, or any contractor activity near roof penetrations.
Do not wait for a visible ceiling leak. By the time water appears indoors, it may have traveled along framing or underlayment from a point several feet away. A musty attic odor, a new stain around a bathroom fan, or peeling paint near an exterior wall can all justify a targeted inspection.
How to Inspect Roof Flashing From the Ground
Start with a slow walk around the building in daylight. Use binoculars if needed, but do not rely on a distant view alone for a final diagnosis. You are looking for changes, not trying to confirm every detail from the yard.
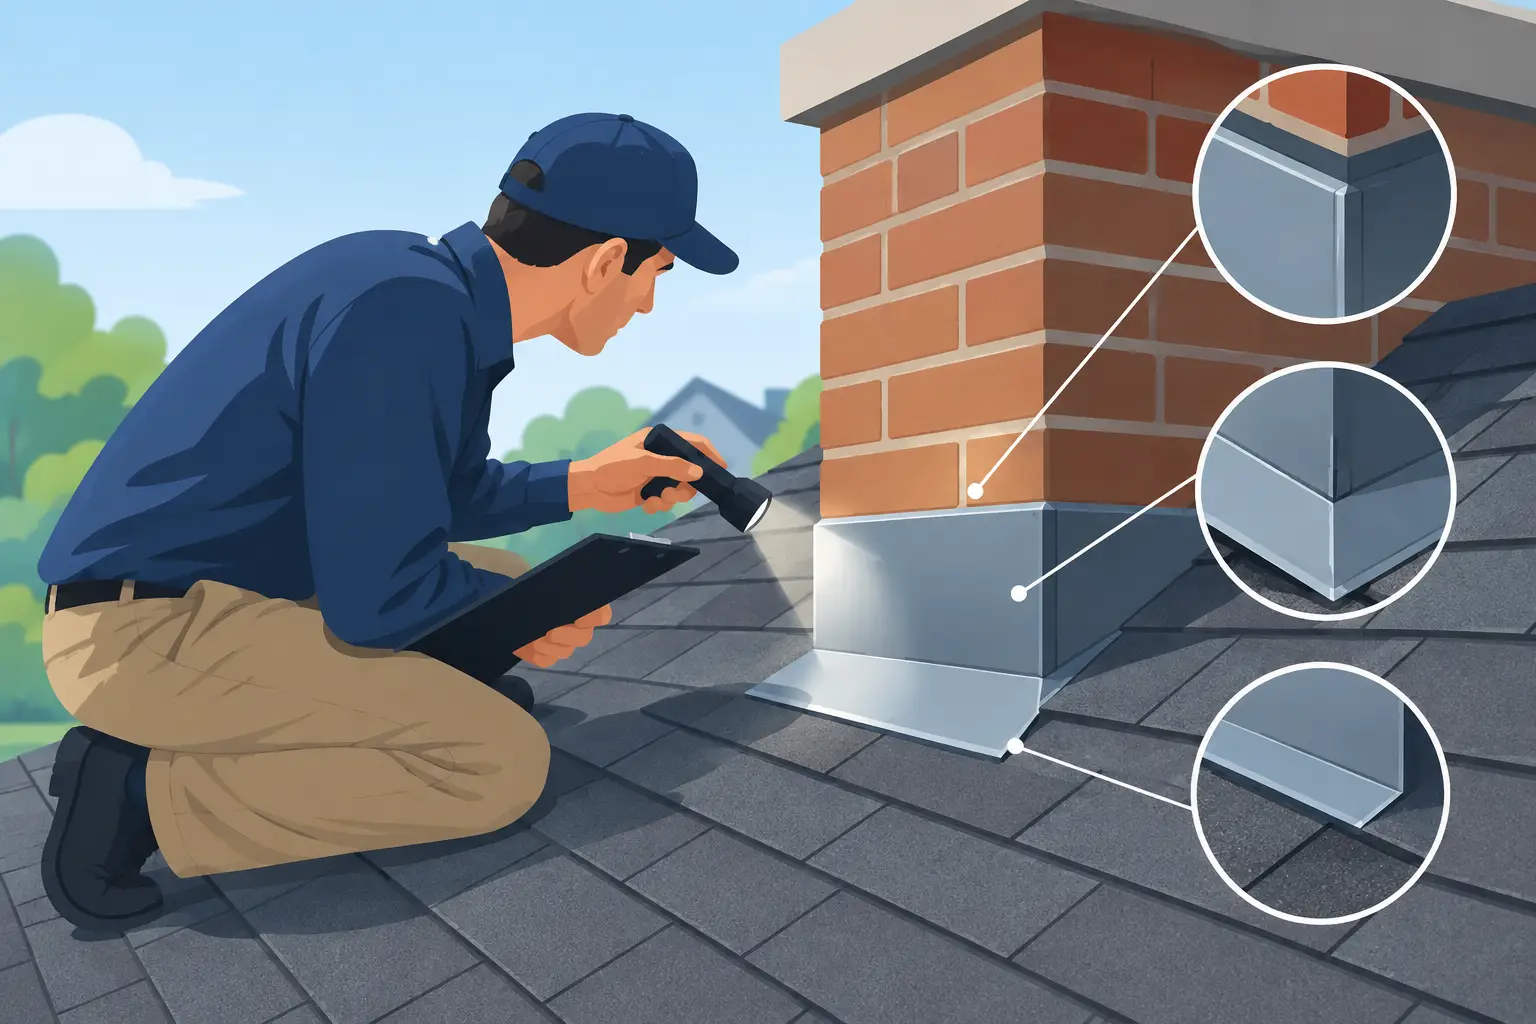
At chimneys, look for lifted or missing shingles beside the masonry, open gaps at the metal edges, rust streaks, cracked chimney mortar, and sealant that has pulled away. A chimney’s flashing works with a back pan or cricket in many cases, so ponding debris or worn shingles above the chimney also deserve attention.
At plumbing vents and other pipe penetrations, look for split rubber collars, tilted pipes, exposed fasteners, cracked plastic bases, and shingles that have curled around the penetration. Rubber boots age under UV exposure and can crack long before the rest of the roof covering reaches the end of its service life.
At skylights, watch for loose exterior trim, missing shingles near the frame, staining on the ceiling below, or water marks at the upper corners of the opening. A skylight leak is not always a skylight failure. The surrounding step flashing, head flashing, underlayment, or roof drainage pattern may be the actual cause.
From ground level, also check for loose metal along roof-to-wall intersections, valleys that hold debris, and any flashing that appears bent, lifted, or disconnected. Take clear photos from several angles. They help a roofing contractor compare conditions over time and prepare for an on-site assessment.
Safe Interior Checks That Support a Flashing Inspection
The attic can provide useful evidence when it is safe and accessible. Choose a dry day, use stable lighting, and walk only on supported framing or established decking. Do not disturb insulation unnecessarily, and never work around exposed electrical hazards.
Look at the underside of the roof deck near chimneys, vents, skylights, valleys, and exterior walls. Dark water marks, damp insulation, mildew, softened wood, rusty nails, or daylight around a penetration can point to a flashing concern. Note that condensation can resemble a leak, particularly around poorly insulated bath vents or in attics with inadequate ventilation. A qualified roofer should distinguish between the two before recommending repairs.
Inside finished rooms, pay attention to repeating stains, bubbling drywall, damp trim, and discoloration that worsens after wind-driven rain. Record the date and weather conditions. This information can help identify whether the problem is tied to a particular roof slope or flashing location.
What Not to Do on the Roof
Roof flashing is easy to damage when approached without the right training and tools. Walking on brittle shingles, forcing up tabs, or stepping on metal pans can create a new leak while attempting to find an old one. The risk rises sharply on steep, wet, icy, or aging roofs.
Avoid smearing roofing cement or silicone over cracked metal, loose flashing, and exposed fasteners as a permanent fix. Sealant has a role in properly designed details, but it is not a substitute for correctly lapped, mechanically secured flashing. It can also make a future repair harder by concealing the original condition.
Do not pressure wash the roof or use a garden hose to flood a suspect area without a planned diagnostic process. Water testing can be useful, but it should be controlled and performed one area at a time. Unfocused testing may send water into normal drainage paths and produce misleading results.
A professional inspection should include safe roof access, close examination of the roofing material around each detail, and assessment of whether the flashing is integrated correctly. Working at Heights practices are not optional on a roofing project. They protect the crew, the property, and the quality of the work being completed.
When Flashing Needs Repair or Replacement
Minor repairs may be appropriate when a small amount of sealant has failed, a single fastener has backed out, or a localized flashing component is still structurally sound. The repair should match the existing roof system and preserve proper water flow.
Replacement is usually the better choice when metal has corroded through, flashing is bent or improperly installed, shingles around the detail are deteriorated, or repeated leaks have damaged the roof deck. Step flashing around walls and chimneys often requires removing and reinstalling adjacent shingles. That is why a proper repair is more involved than fastening a visible strip of metal over the surface.
For older roofs nearing replacement, the decision may be different. Investing in extensive temporary repairs can make less sense if multiple flashing details, shingles, and underlayment are approaching the end of their useful life. A detailed estimate should explain the condition found, the scope of repair, and whether a roof replacement would provide better long-term value.
Commercial properties require the same disciplined approach, although materials and details differ. Membrane seams, counterflashing, pitch pockets, wall terminations, and rooftop equipment curbs must be evaluated as a system. A repair that addresses only the visible split without correcting the underlying movement or drainage issue may fail again quickly.
Choose a Contractor Who Evaluates the Entire Detail
A dependable flashing repair begins with diagnosis, not assumptions. The contractor should identify the entry point, examine the surrounding materials, explain whether the issue is repairable, and provide a clear scope before work begins. Ask how the repair will integrate with the existing roof, what materials will be used, and whether the work affects applicable manufacturer warranty requirements.
Toronto Roofers uses trained, safety-conscious installers and direct project oversight because flashing work demands careful sequencing. The quality of a roof is often decided at its edges, penetrations, and transitions, not only across its open field of shingles or membrane.
If you see a stain, lifted metal, cracked vent boot, or loose flashing after a storm, document it and arrange a professional assessment before the next weather event turns a manageable repair into interior damage.